
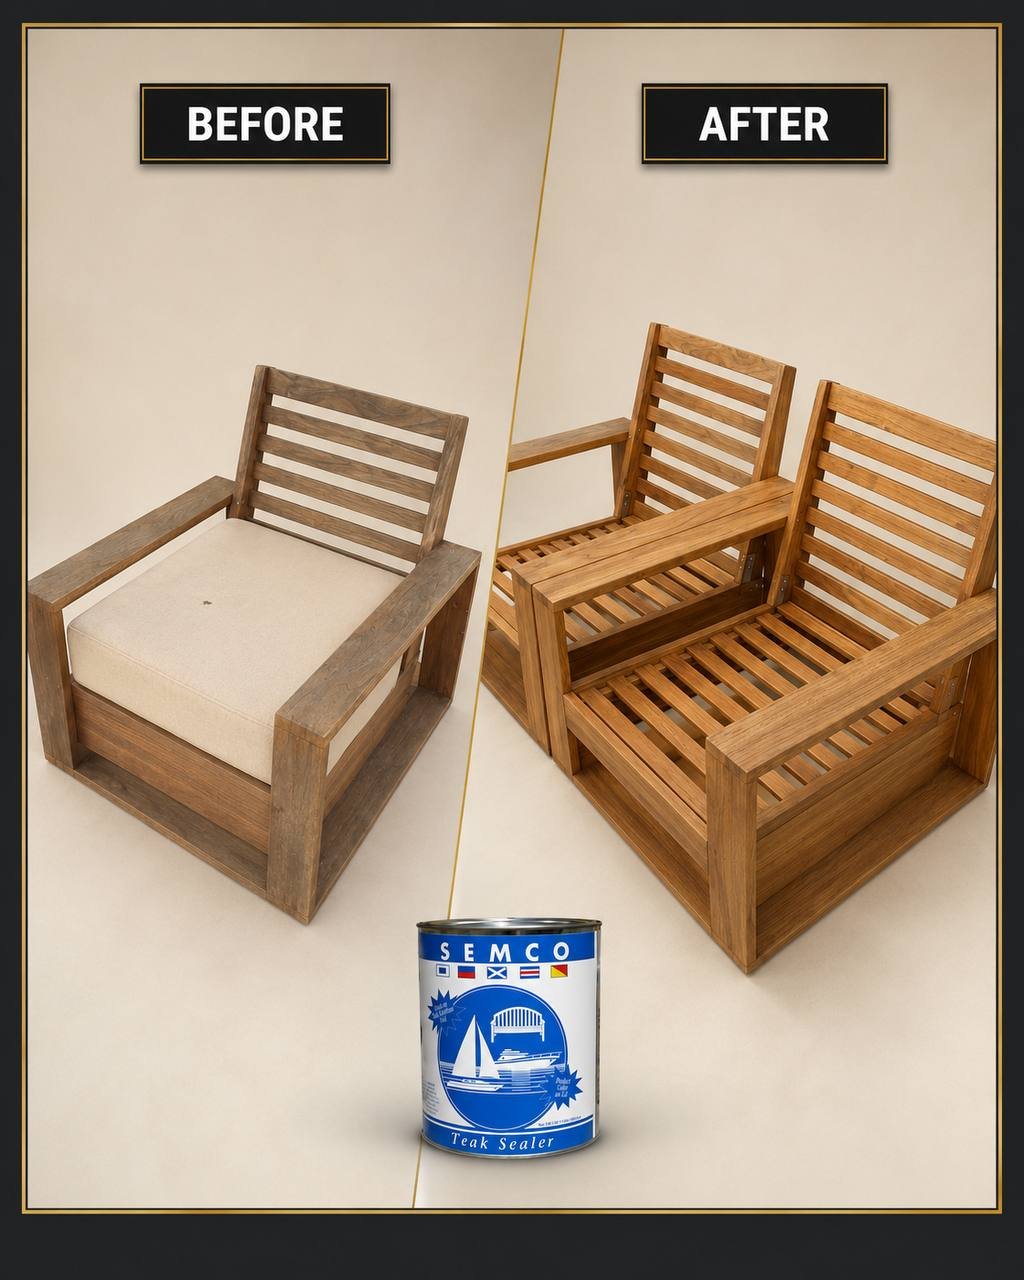
How to Prepare Teak Outdoor Furniture for the Season
Teak is one of the best materials for outdoor furniture. Its natural oils make it durable and resistant to changing weather, but exposure to sunlight, rain, pollen, dirt, and moisture will still affect its appearance. A little preparation at the beginning of the season can help preserve the wood, maintain its warm color, and extend the life of your furniture.
In this guide, we explain how to inspect, clean, prepare, and protect teak outdoor furniture before placing it back into regular use. We also share the process used on a recent NC Craft Home restoration project finished with SEMCO Teak Sealer.
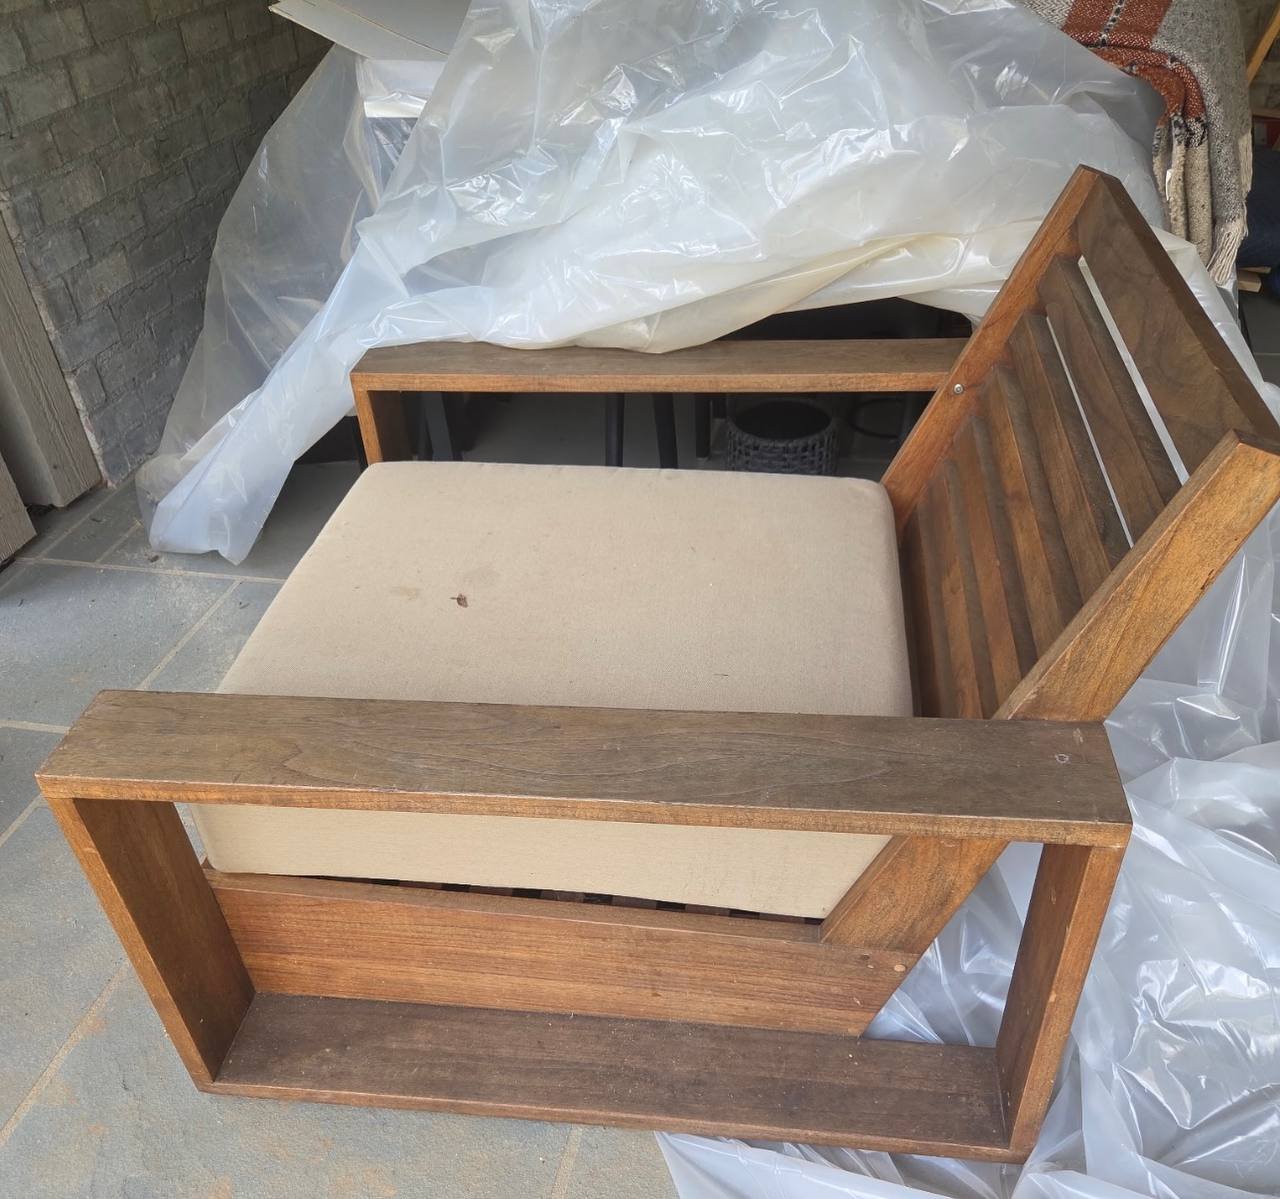
Step 1: Inspect the Furniture
Remove all cushions and examine every part of the furniture, including the undersides, joints, slats, arms, and legs. Look for loose hardware, unstable joints, rough grain, dark stains, mildew, or areas where the previous finish has worn unevenly.
Tighten loose fasteners before cleaning. Structural repairs should also be completed first so that damaged joints are not made worse while the furniture is being scrubbed or moved.
Step 2: Determine the Level of Cleaning Needed
For furniture in good condition
If the teak was previously sealed and only has normal seasonal dirt, wash it with water, mild dish soap, and a soft scrub brush or nonmetallic cleaning pad. Work gently in the direction of the grain, rinse thoroughly, and remove all soap residue.
For weathered, stained, or mildewed teak
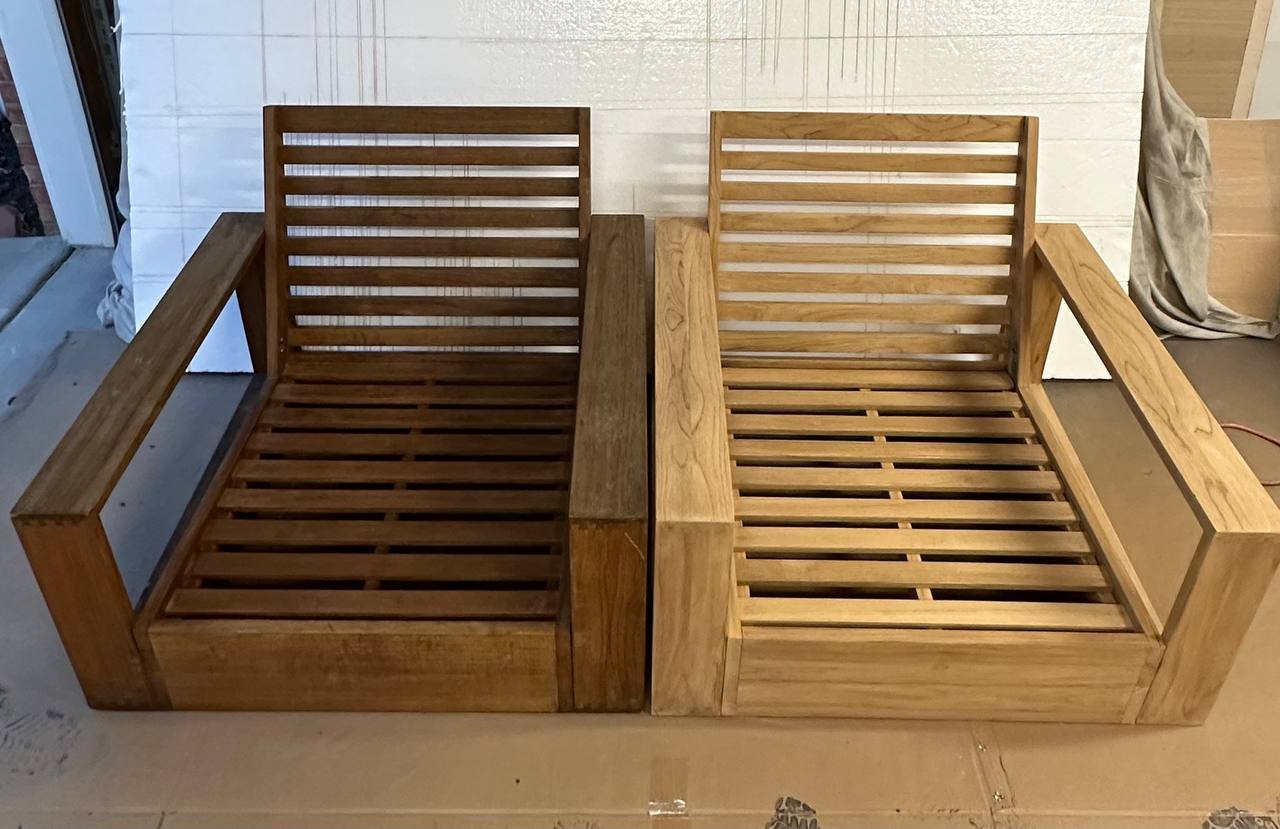
Furniture that has turned gray, developed mildew, or accumulated stubborn stains may need a dedicated teak-cleaning system. For our restoration work, we follow the product directions and clean small sections at a time, keeping the wood wet during the process and rinsing it thoroughly afterward.
When using a two-part teak cleaner, protect nearby painted or finished surfaces and wear the protective equipment specified on the product label. Always test the process on a small, inconspicuous area first.
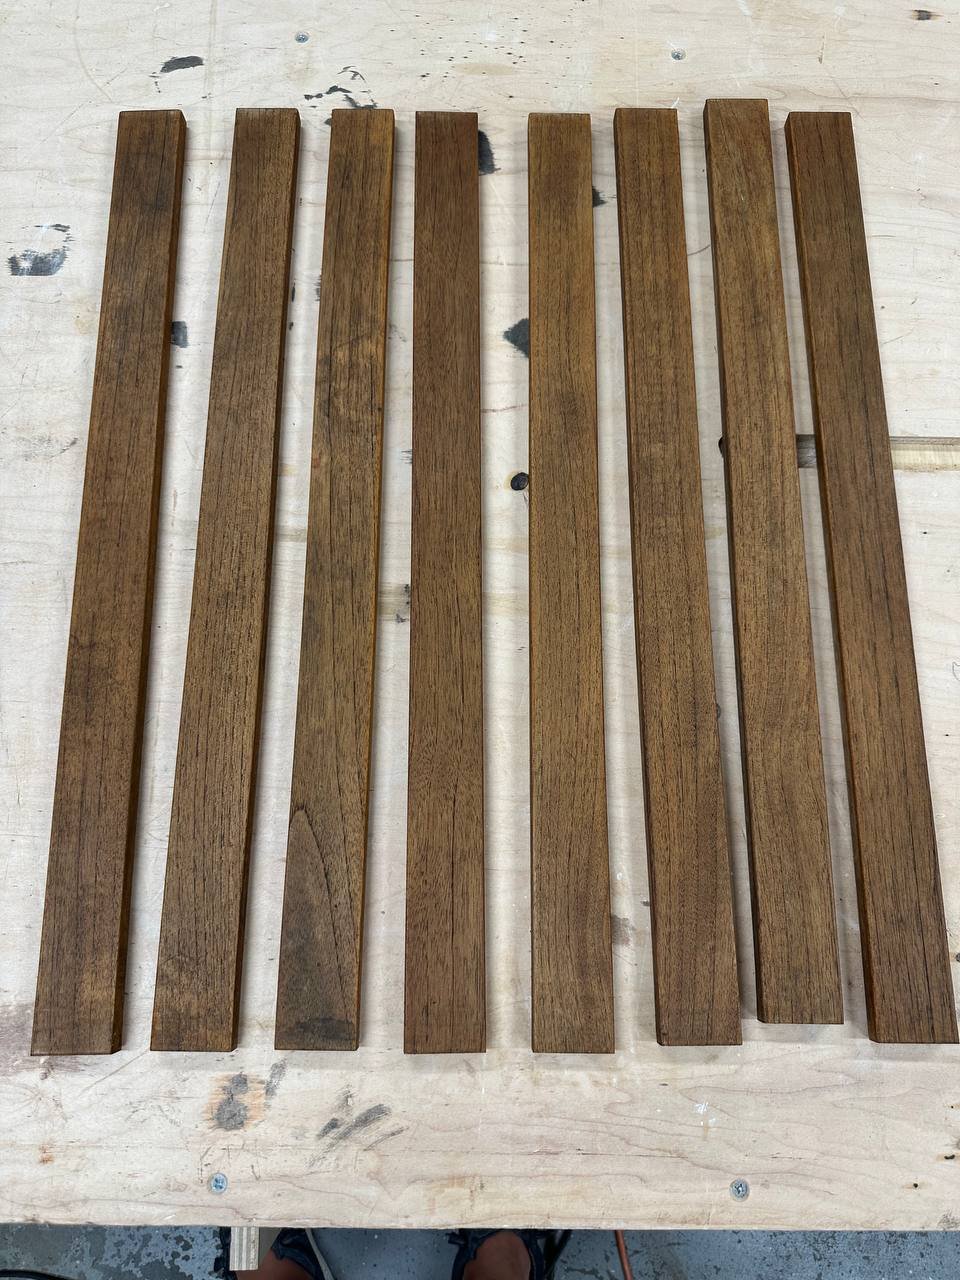
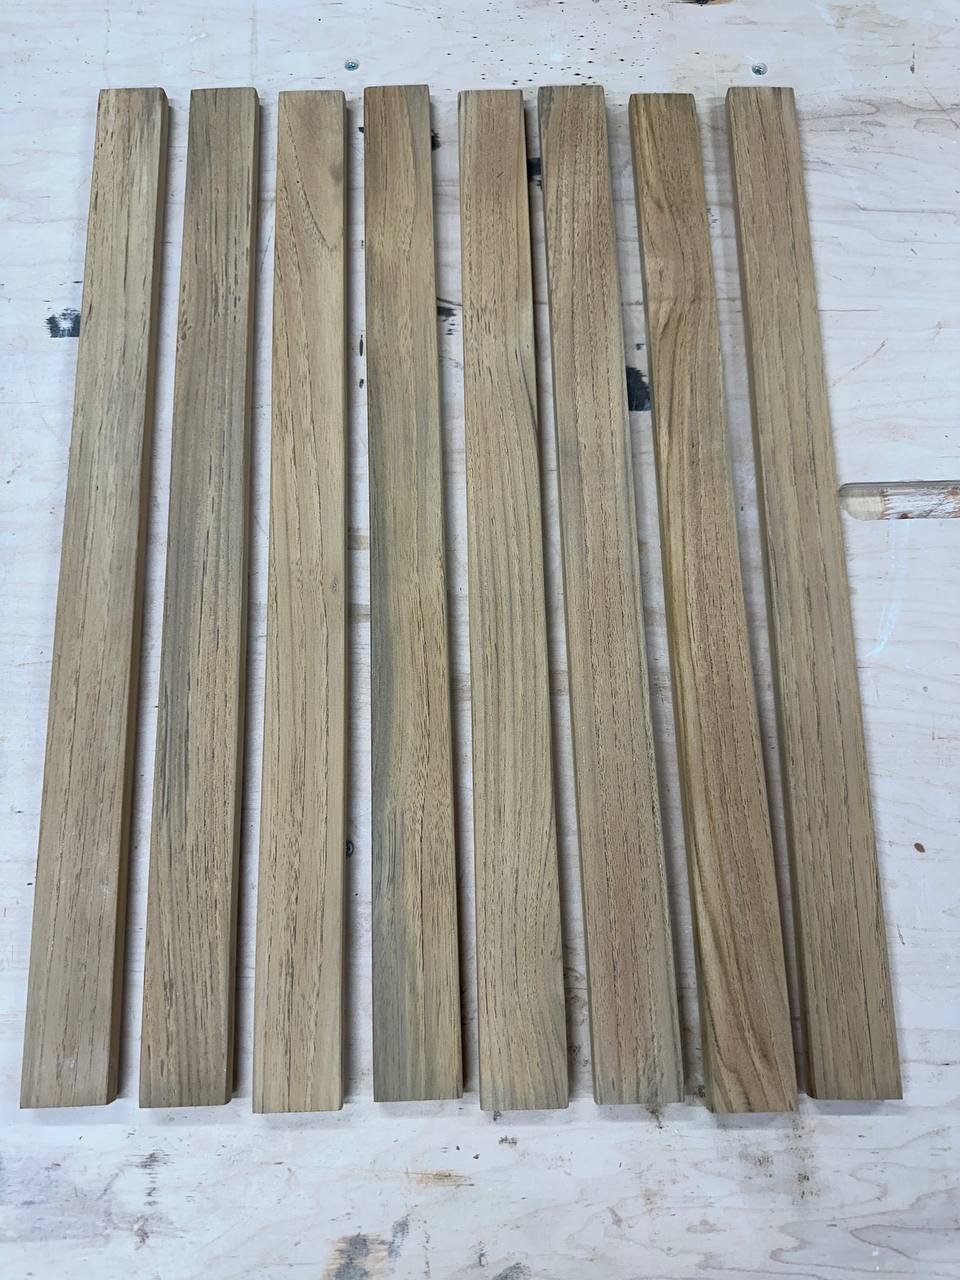
On this project, the chairs were partially disassembled so the narrow seat and back slats could be cleaned individually. This added time to the process, but it allowed us to reach the edges, joints, and concealed surfaces that cannot be prepared properly while the chair remains fully assembled.
Step 3: Let the Teak Dry Completely
After cleaning, place the furniture in a well-ventilated location and allow it to dry completely. Moisture trapped in the wood can interfere with the sealer and produce an uneven finish. Drying time will vary with temperature, humidity, airflow, and how thoroughly the furniture was washed.
Do not rush this step. The wood should feel dry throughout, not only on the surface, before any protective treatment is applied.
Step 4: Sand Only Where Necessary
Once the teak is dry, check the surface with your hand. If the grain feels raised or there are small remaining marks, sand those areas lightly by hand with fine sandpaper, always following the direction of the grain. The goal is to smooth the wood without removing unnecessary material.
Remove all sanding dust before continuing. Excessive machine sanding can polish the natural oils and push fine, oily dust into the pores, which may prevent the sealer from absorbing evenly.
Step 5: Apply SEMCO Teak Sealer
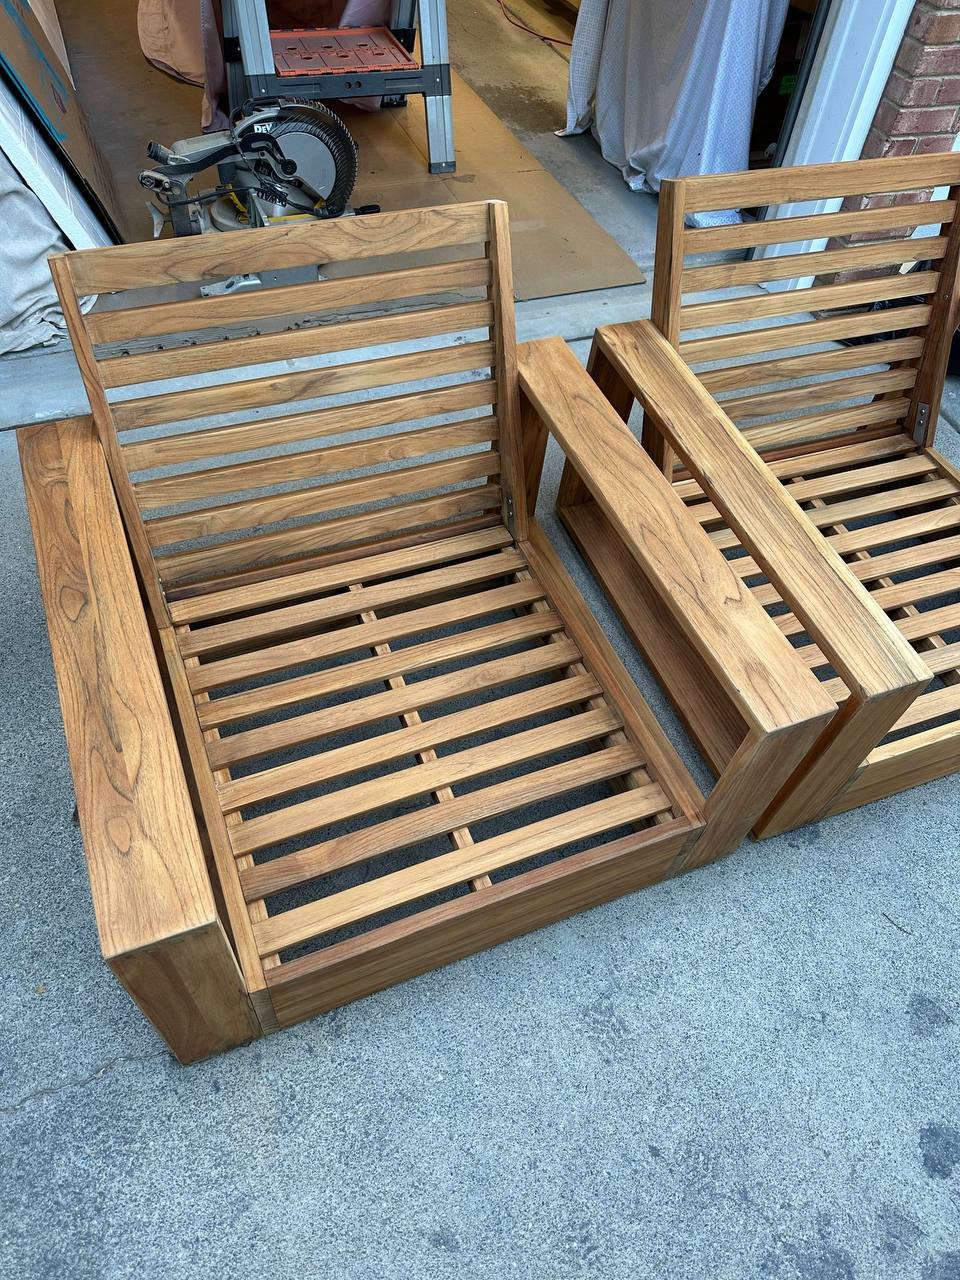
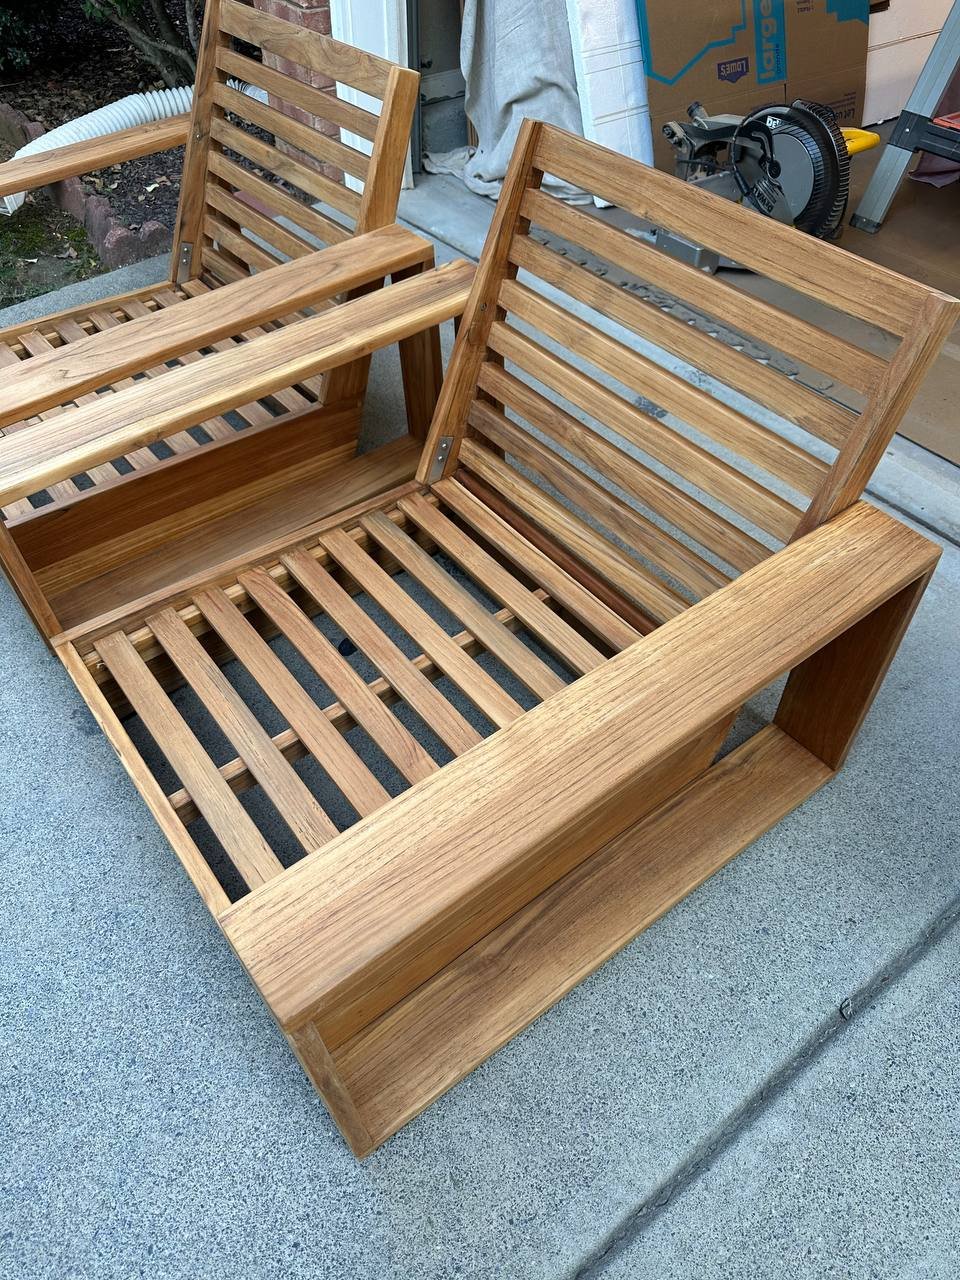
For this project, we used SEMCO Teak Sealer to bring back the warm appearance of the teak and help protect it from moisture, mildew, and ultraviolet exposure. Before application, mix the product thoroughly and confirm that the wood is completely dry.

- Apply the sealer with a foam brush, suitable applicator, plastic spray bottle, or clean rag.
- Allow the teak to absorb the product, then wipe away any excess with a clean rag.
- For newly restored or previously unfinished furniture, apply two coats on the same day, following the instructions on the can.
- Allow the furniture to dry fully before replacing cushions or putting it back into service.
More product is not always better. Applying too many coats can build up on the surface and hide the natural grain. Always follow the current label directions for the specific SEMCO product and color being used.
Step 6: Maintain the Furniture During the Season
Routine maintenance is simple. Remove pollen and surface dirt with mild soap, water, and a soft brush. Clean spills promptly, especially oils, food, wine, and coffee, which may penetrate the surface and leave stains.
A useful maintenance test is to place a little water on the surface. If the water beads, the existing protection is still working. If the color has faded and the water immediately soaks into the wood, it may be time for a maintenance coat. Previously sealed residential furniture often needs only one fresh coat rather than a complete two-coat restoration.
Should Teak Outdoor Furniture Be Covered?
Teak does not always need to be covered, but protection from heavy debris and prolonged moisture can reduce maintenance. Avoid nonbreathable covers that trap condensation against the wood. If you use a cover, choose a breathable outdoor material and make sure air can circulate around the furniture.
A Small Amount of Seasonal Care Makes a Big Difference
Proper preparation helps teak furniture enter the outdoor season clean, smooth, and protected. The most important steps are choosing the appropriate level of cleaning, allowing the wood to dry completely, sanding only when necessary, and applying the correct amount of sealer.
With regular gentle cleaning and timely maintenance, quality teak furniture can remain attractive and functional for many years.
Need Help Restoring Your Outdoor Furniture?
NC Craft Home provides professional furniture restoration and refinishing services. Contact us to discuss the condition of your furniture and the finish you would like to achieve.
Request a Consultation